
How do I bulk upload files?
Updated 2 weeks ago
How do I bulk upload files?
Gratona supports two forms of imports for files.
Profile Photos Imports: Import photos for donors and recipients, with the option to set them as profile images.
Documents Import: Import files and documents for donors and recipients.
There are two ways to start a bulk upload:
Data & Imports — navigate to Data & Imports in the sidebar and click Imports, or go directly to
/app/imports/data/wizard.
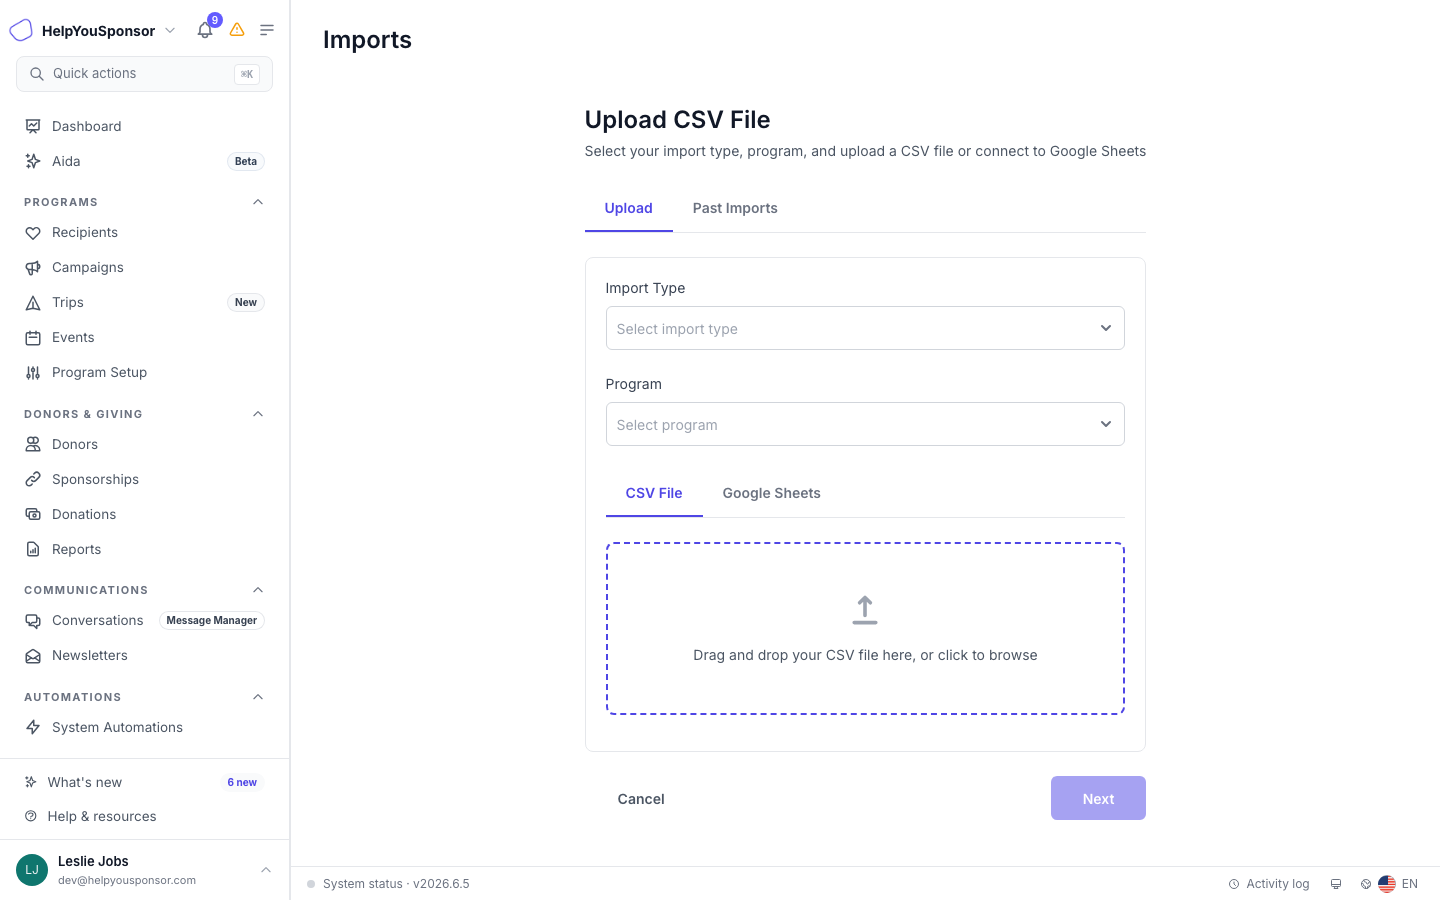
Import Wizard — select the import type and program, then upload your CSV
From a program card — open the Programs list, click the three-dot menu on a program card, and select Import. This opens the same Import Wizard with the program pre-selected.
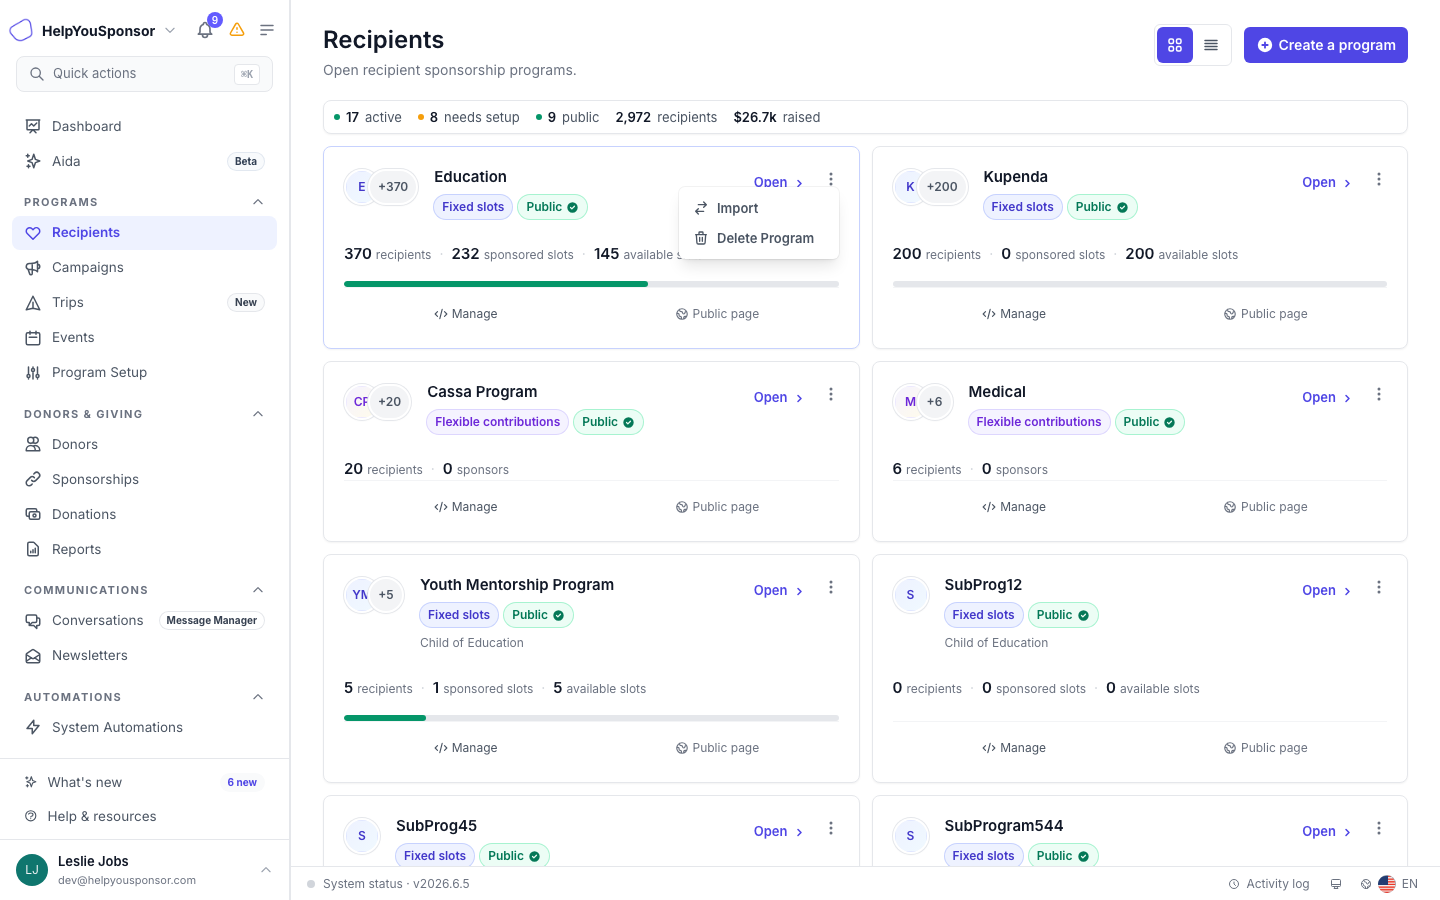
Program card dropdown — click Import to open the wizard with that program pre-selected
Select Profile Photos or Files and Documents as the import type and choose the target program. Upload your photo files or CSV to begin.
Profile Photos Import
When uploading profile photos, the filenames must match a unique identifier associated with the donor or recipient. For example, if your recipient form has a "studentID" field, name the photos using those student ID values so the system can match each photo to the correct profile.
This applies to both donor and recipient forms. The unique field you use in your form determines how you name the photo files.
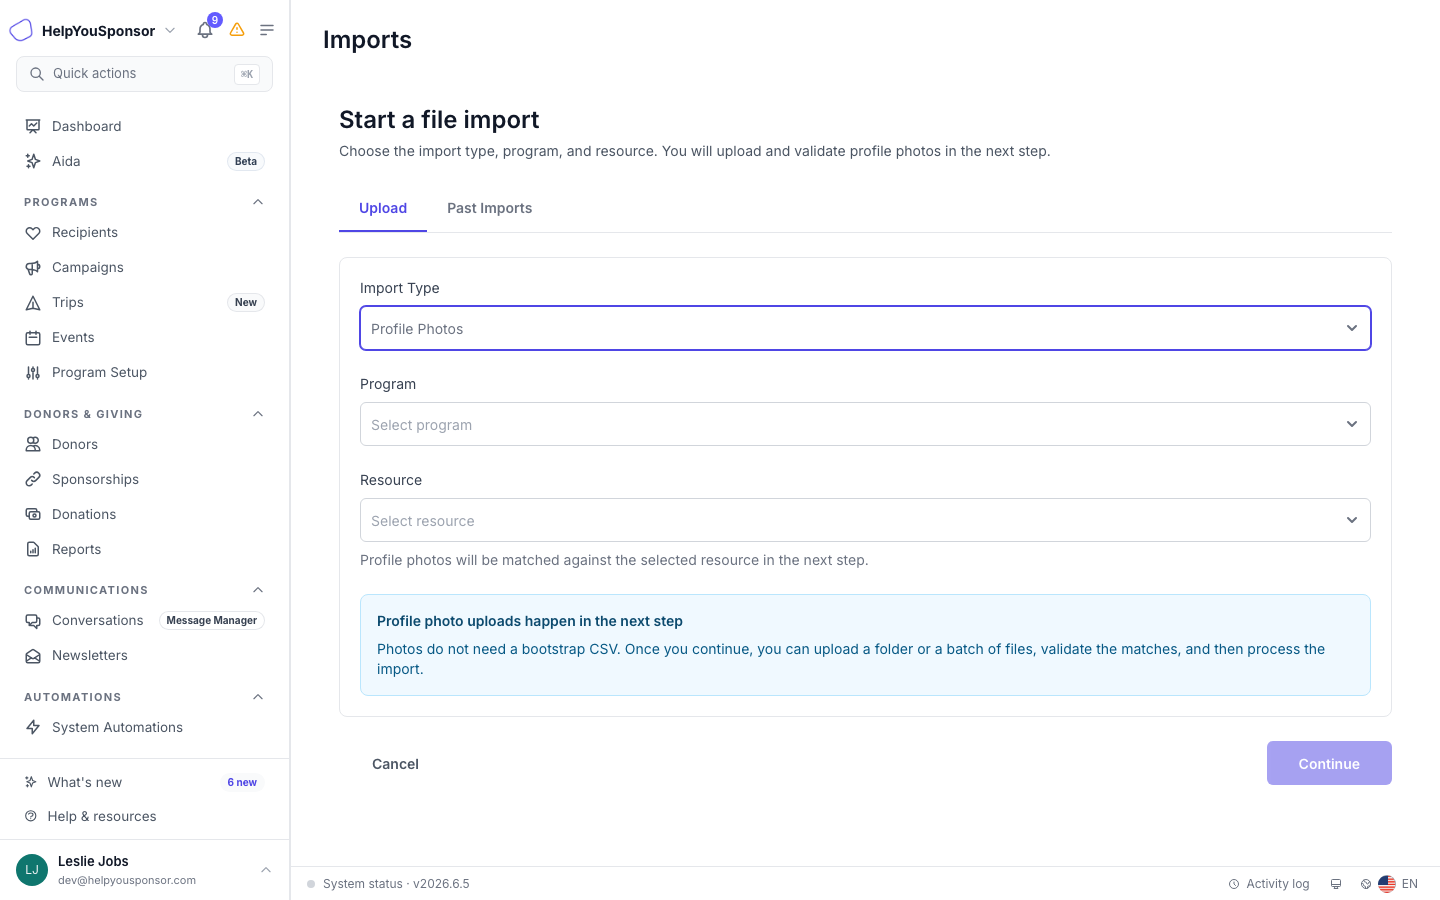
Profile Photos import — select the target entity and mapping field
After selecting Profile Photos, choose whether the photos are for donors or recipients, then select the form field to use for mapping. You can also choose whether to make the uploaded photos the profile images. Then upload the files, run validation, and proceed with the import. For the full recipient photo workflow, see How do I import recipient photos?
Documents Import
When uploading documents, prepare a CSV file with three columns:
UniqueField | FileName | Permission |
|---|
UniqueField — the value of the unique field used for mapping (e.g., student ID, donor ID).
FileName — the filename of the document to import.
Permission — whether the document should be public, donor, or admin. (private is still accepted as a legacy alias for admin.)
Once your CSV is ready, select Files and Documents as the import type, select the target program, and choose whether the import is for donors or recipients. Upload the mapping CSV, then select Continue to open the document settings and upload step.
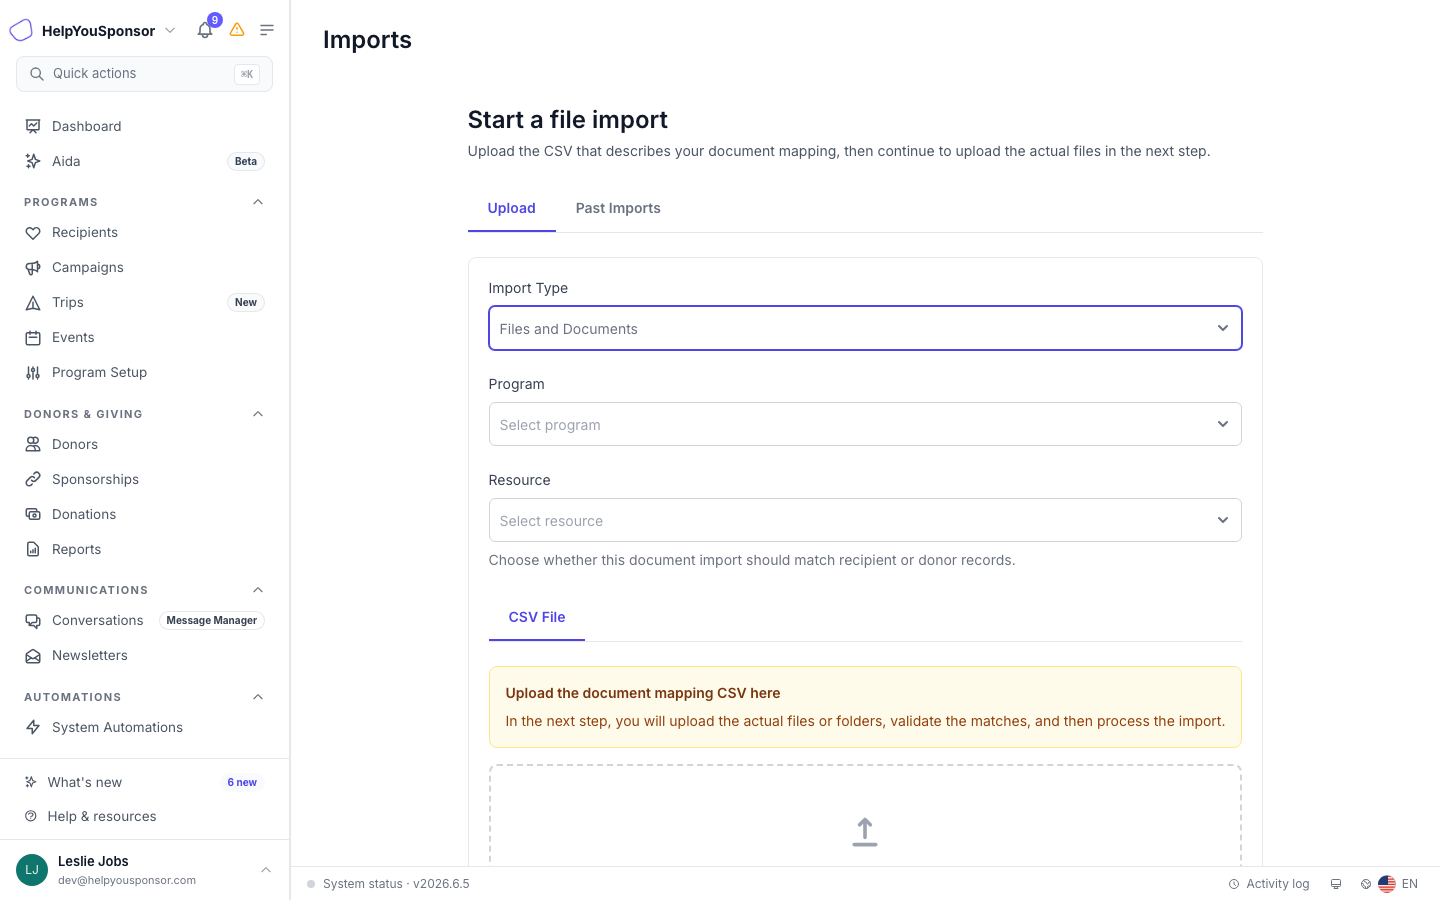
Files and Documents import — map your CSV columns to the unique field, filename, and permission
Map your CSV columns to Unique Field Column, Filename Column, and Permission Column. Under Unique Field to Consider, select the donor or recipient field containing those identifier values. For example, if your CSV contains student IDs, select the matching student ID field. Add the documents and select Upload Files to stage them. When staging finishes, select Begin Validation. Review the validation results, resolve any errors, and select Proceed with Import to queue the import. Check that the files appear on the intended records before starting a larger batch.
Note: Start with a small batch of files or photos, verify they were imported correctly, and adjust your process before scaling up.